Why Do This
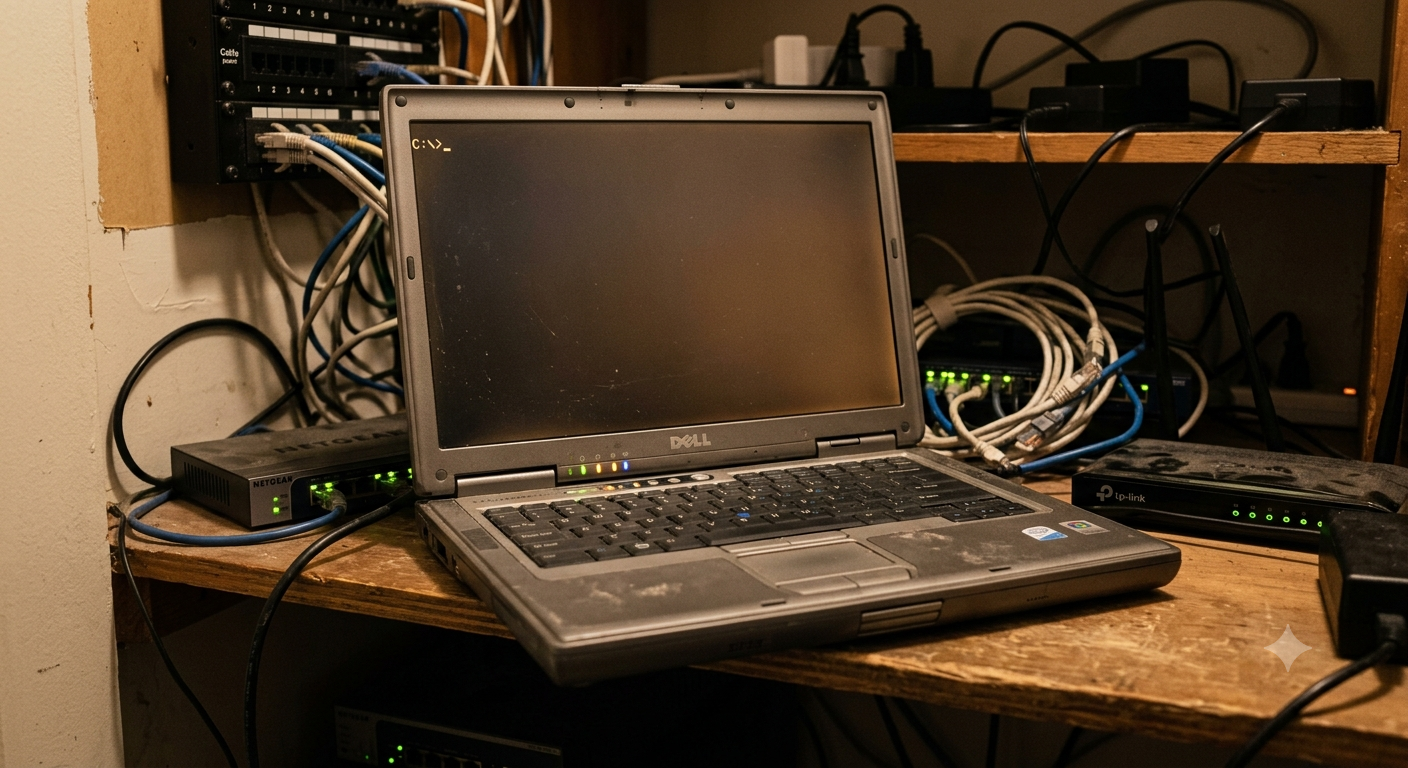
Most people upgrade laptops every few years and let the old one sit in a drawer. But a laptop that's "too slow" for daily use is often still perfectly capable of running background services 24/7 — it doesn't need to be fast, it needs to be on. This guide turns exactly that kind of laptop into a home server running:
- Immich — self-hosted photo and video backup, a private alternative to Google Photos. Full setup guide →
- Jellyfin — a media server for your own movies and shows, like a private Netflix. Full setup guide →
- Radarr, Sonarr, Prowlarr & Transmission — a stack that finds, downloads, and organizes media automatically. Full setup guide →
- Pi-hole — network-wide ad and tracker blocking for every device on your Wi-Fi. Full setup guide →
- Paperless — a document scanning and searchable archive system. Full setup guide →
- Tailscale — secure remote access to your server from anywhere, no port forwarding. Full setup guide →
- Home Assistant — the hub that connects and automates every smart device in the house, regardless of brand. Full setup guide →
A few more specialized pieces run in the background: FlareSolverr (helps the media automation stack get past certain anti-bot pages), ESPHome (covered in the temperature sensor guide — it's the same tool used to flash the ESP32), and a small custom-built dashboard for keeping an eye on everything at a glance, which is a personal project rather than a general-purpose tool.
None of these need serious hardware. This entire build runs comfortably on a laptop with an AMD Ryzen 3 processor and under 3GB of usable RAM.
What You'll Need
| Requirement | Notes |
|---|---|
| An old laptop | Almost anything from the last 10 years works — even 4GB RAM is enough to start |
| Ubuntu Server (or Ubuntu Desktop) | Free, well-documented, and has the widest Docker support |
| External hard drive (optional but recommended) | For extra storage beyond the laptop's internal drive — WD Passport-style drives work well |
| A stable spot with power and Wi-Fi/Ethernet | This machine will run continuously, so treat it like a permanent fixture, not a laptop you carry around |
Part 1: Installing the Operating System
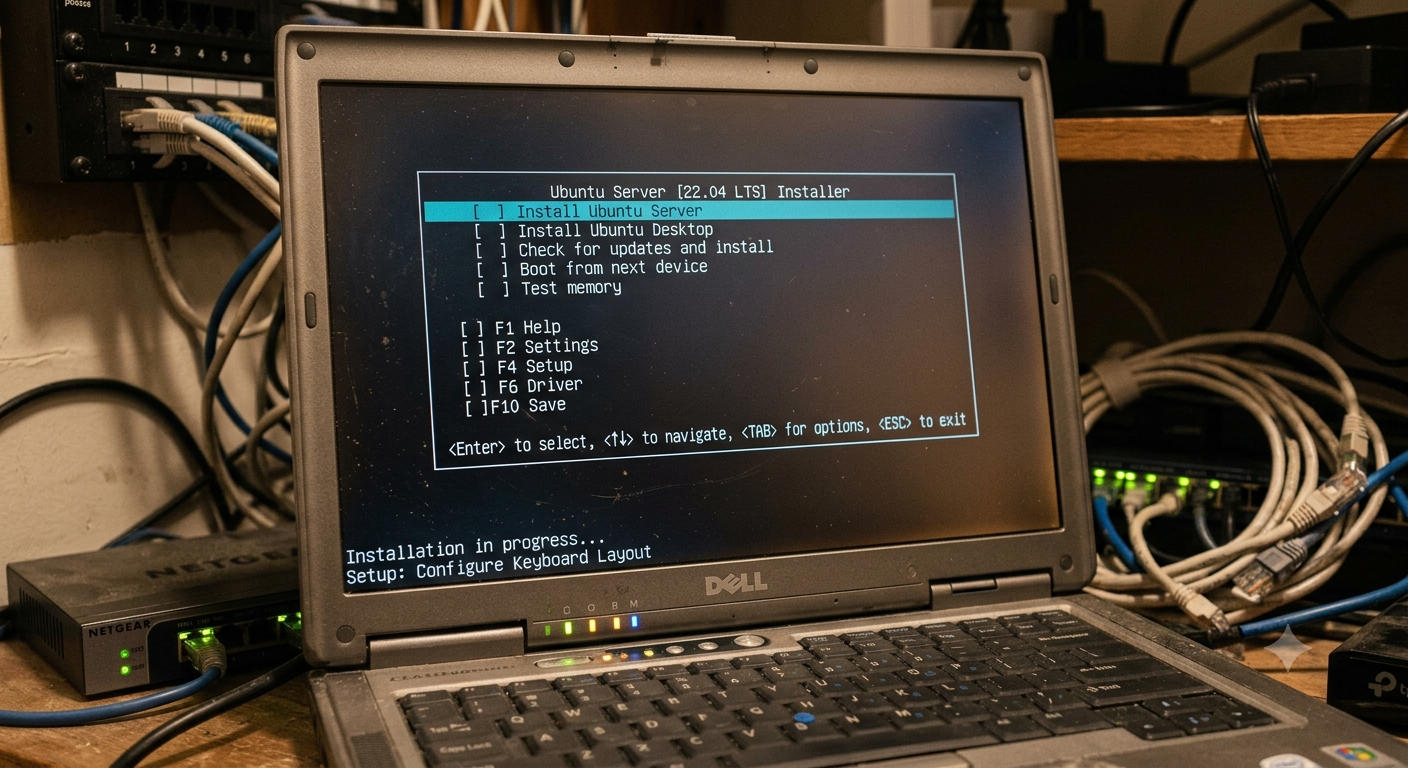
Wipe the laptop and install Ubuntu Server (a lightweight, no-desktop-interface version of Ubuntu built for exactly this kind of always-on use). If you're more comfortable with a familiar desktop environment for the first setup, regular Ubuntu Desktop works too — you can always switch to a lighter setup later.
- Download Ubuntu Server from ubuntu.com and write it to a USB drive using a tool like Rufus (Windows) or balenaEtcher (Mac/Linux)
- Boot the laptop from the USB drive and follow the installer
- During setup, enable OpenSSH server when prompted — this lets you control the laptop remotely from another computer afterward, so you don't need to keep a monitor and keyboard attached to it permanently
- Once installed, note the laptop's local IP address (shown during setup, or check later with
ip a) — you'll use this to connect to it
Give it a fixed local IP
Servers need a predictable address — if your laptop's IP changes every time it reconnects to Wi-Fi, every service you set up will break. In your router's settings, find the DHCP reservation option and reserve a fixed IP for the laptop's MAC address. This build uses a static local IP (like 192.168.68.118) reserved this way.
Part 2: Installing Docker
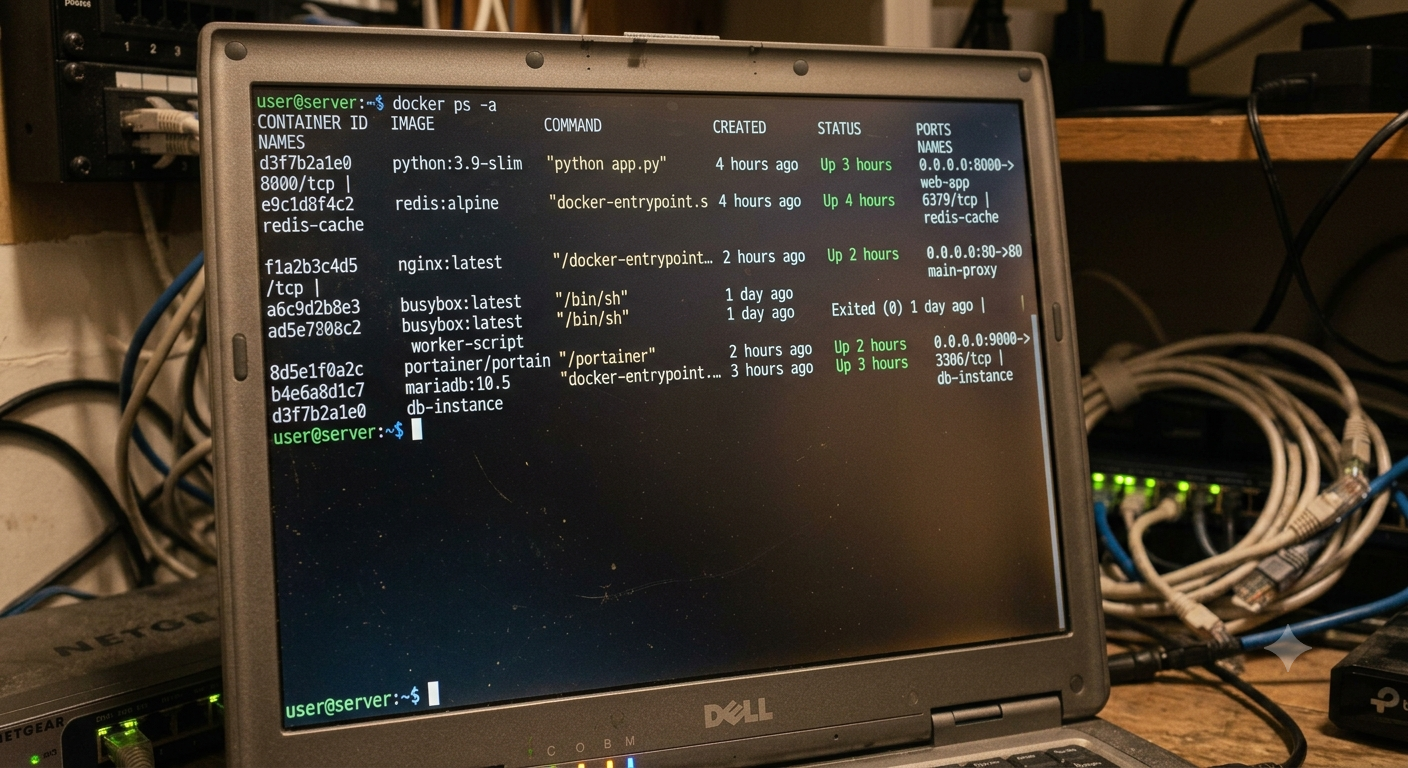
Rather than installing each service directly onto the laptop, this build uses Docker — a system that runs each service in its own isolated "container." This keeps things clean: if one service misbehaves or needs to be removed, it doesn't affect anything else on the machine.
From a terminal (either directly on the laptop, or connected remotely via SSH from another computer using ssh username@192.168.68.118):
# Install Docker
curl -fsSL https://get.docker.com -o get-docker.sh
sudo sh get-docker.sh

# Allow your user to run docker without "sudo" every time
sudo usermod -aG docker $USER

# Log out and back in for this to take effect
Verify it worked:
docker --version
docker run hello-world
Part 3: Setting Up Storage
Before installing services, decide where their data will live. This build uses two locations:
- The laptop's main internal drive, mounted for general use
- An external USB drive (like a WD Passport) for extra space — reformatted to ext4 (Linux's native filesystem) rather than the Windows-default NTFS, for better reliability and performance under Linux
To reformat and mount an external drive:
# Find your drive (look for the right size to identify it)
lsblk

# Format it as ext4 (replace /dev/sdX1 with your actual drive)
sudo mkfs.ext4 /dev/sdX1

# Create a mount point and mount it
sudo mkdir /mnt/external-drive
sudo mount /dev/sdX1 /mnt/external-drivemkfs.ext4 erases everything on the target drive — running it against the wrong device will wipe the wrong disk. Use lsblk carefully to confirm which device is the external drive before proceeding.
To make the mount permanent (so it reconnects automatically after a reboot), add it to /etc/fstab — this step is easy to get wrong, so back up the file before editing and test a reboot before assuming it's working correctly.
Part 4: Running Your First Services with Docker Compose
Docker Compose lets you define all your services in a single file, so you can start, stop, and update everything together instead of managing containers one by one. Create a folder for your setup and a file called docker-compose.yml inside it.
Here's a simplified example showing the pattern used for this build's Pi-hole service:
version: "3"
services:
  pihole:
    container_name: pihole
    image: pihole/pihole:latest
    ports:
      - "53:53/tcp"
      - "53:53/udp"
      - "8080:80/tcp"
    environment:
      TZ: 'Asia/Kolkata'
    volumes:
      - './etc-pihole:/etc/pihole'
      - './etc-dnsmasq.d:/etc/dnsmasq.d'
    restart: unless-stopped
Start it with:
docker compose up -dThe same pattern — a new service: block in the compose file, with its own image, ports, and volumes — is how each additional service gets added: Jellyfin for media streaming, Immich for photo backup, Radarr/Sonarr/Prowlarr/Transmission for media automation, and Paperless for document management. Each runs independently, but they all live in the same compose file for easy management.
Part 5: Ad Blocking with Pi-hole
Once Pi-hole is running as a container, point your router's DNS setting to the laptop's static IP — this makes every device on your network automatically use Pi-hole for DNS lookups, blocking ads and trackers network-wide without installing anything on individual devices. Groups, regex blocking, and whitelisting fine-tune it further. See the full Pi-hole guide for the complete setup, including group-based rules for devices like smart home gadgets that break under strict blocking.
Part 6: Remote Access Without Port Forwarding
Normally, accessing your home server from outside your house means forwarding ports on your router — a real security risk if done carelessly, and often impossible anyway if your internet provider uses CGNAT (a shared IP system common with many ISPs, which blocks direct incoming connections entirely).
Tailscale solves this differently: it creates a private, encrypted network between your devices, so your phone can reach your home server as if it were on the same Wi-Fi — no port forwarding, no exposing anything to the public internet. See the full Tailscale guide for setup steps and a note on the CGNAT limitation.
Common Issues & Fixes
Services stop working after a router reboot. Usually a lost DHCP reservation — double check the laptop's IP is still fixed in your router's settings.
Docker container "unhealthy" or keeps restarting. Check its logs with docker logs container_name — most issues are permission errors on mounted folders, or a port conflict with another running service.
External drive doesn't remount after reboot. Usually an /etc/fstab misconfiguration — check the exact UUID of the drive with blkid and make sure it matches what's in fstab.
Screen stays on and wastes power. If you're running this laptop with the lid open or a monitor attached, you can blank the screen from the command line to save power while keeping everything running in the background — a small addition to your startup routine handles this automatically.
What's Next
This is a genuinely open-ended project — once the base is running, it's easy to add more: a document scanner pipeline through Paperless, automated backups of important data, or dashboards to monitor everything at a glance. The next guide on this site covers Home Assistant — connecting this same kind of server to smart home devices, building automations, and tying it together with projects like the ESP32 temperature sensor and AC automation covered earlier.